
ClickHouse
Follow these steps to use ClickHouse as your target.
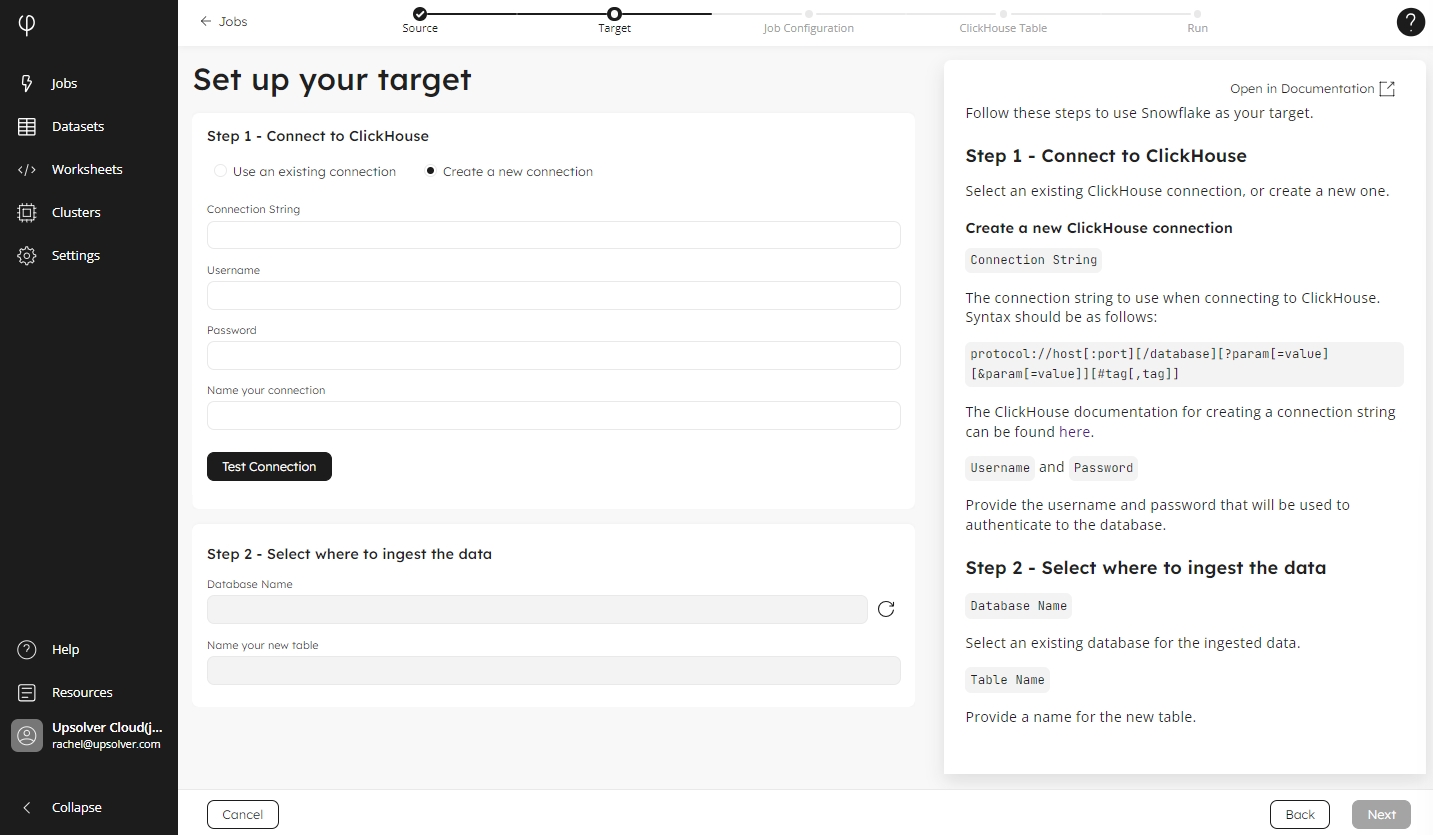
Step 1 - Connect to ClickHouse
Create a new connection
Click Create a new connection, if it is not already selected.
In the Connection String field, enter your connection in the following format:
protocol://host[:port][/database][?param[=value][¶m[=value]][#tag[,tag]]The ClickHouse documentation for creating a connection string can be found here.
Provide the Username and Password that will be used to authenticate to the database.
In the Name your connection box, type in the name for this connection. Please note this connection will be available to other users in your organization.
Use an existing connection
By default, if you have already created a connection, Upsolver selects Use an existing connection, and your ClickHouse connection is populated in the list.
For organizations with multiple connections, select the target connection you want to use.
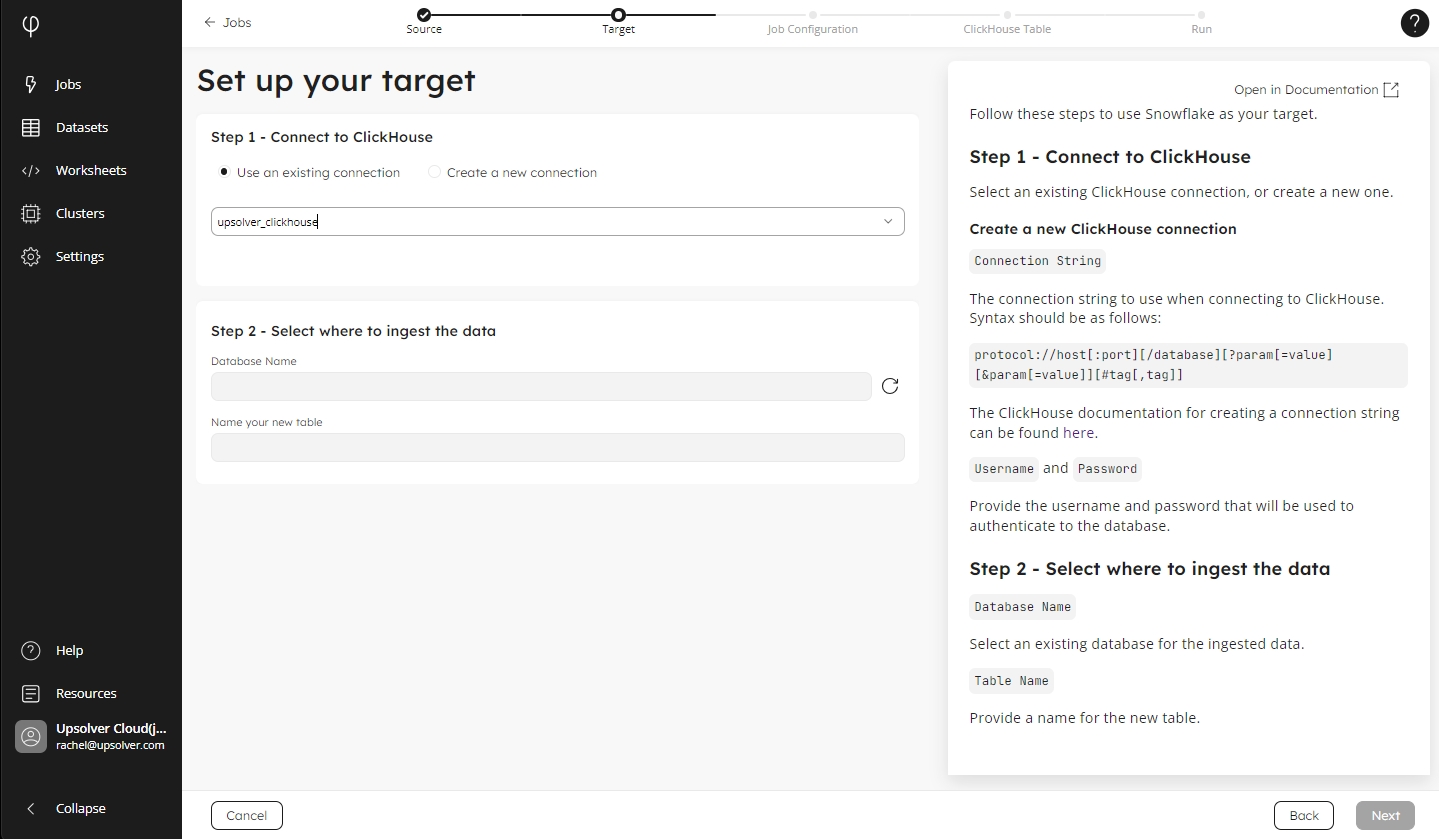
Step 2 - Select where to ingest the data
In the Database Name list, select the database where you want to ingest their data.
Type the name of the new table in the Name your new table box.